Saturday, December 14, 2013

Christmas Time and Caramel Corn!

           I know I don't celebrate Christmas, but I still absolutely love the holiday. I love Christmas music, and holiday themed baked goods, and Christmas movies. The thought of decorating a sweet smelling evergreen with decorations that bring together the family, a morning filled with cinnamon buns and coffee cake and presents and family time. And don't forget the snow.


And with the holiday season, comes my mother's caramel corn. Caramel-Corn-Death-Camp is a symbol of the holidays, with caramel aromas and popcorny noises. I even snagged a couple pics.


check out my mother's popping device. 


For some of the corn, my mother likes to add some mix-ins. You can use anything, from nuts, dried fruits, melted chocolate ( that was the best year ever a good year), or anything else you might like.


and you can even mix in some crafts


all you'll need is scissors, pipe cleaners or ribbons, tags or labels, and some kind of packaging. This is a total DIY project, which will totally give you some credit with your teachers.

Have fun this holiday season! Leave me a comment down below if you'd like the caramel corn recipe!


P.S. i almost forgot! The Sweet Life of Rhode Island Red has been and active blog for a year now! Hooray for us!


Friday, December 6, 2013

Chocolate Owl Cake!

I'm so sorry I didn't post for november, I couldn't get my webcam to work on blogger, so i've been contemplating other ways to take pictures.

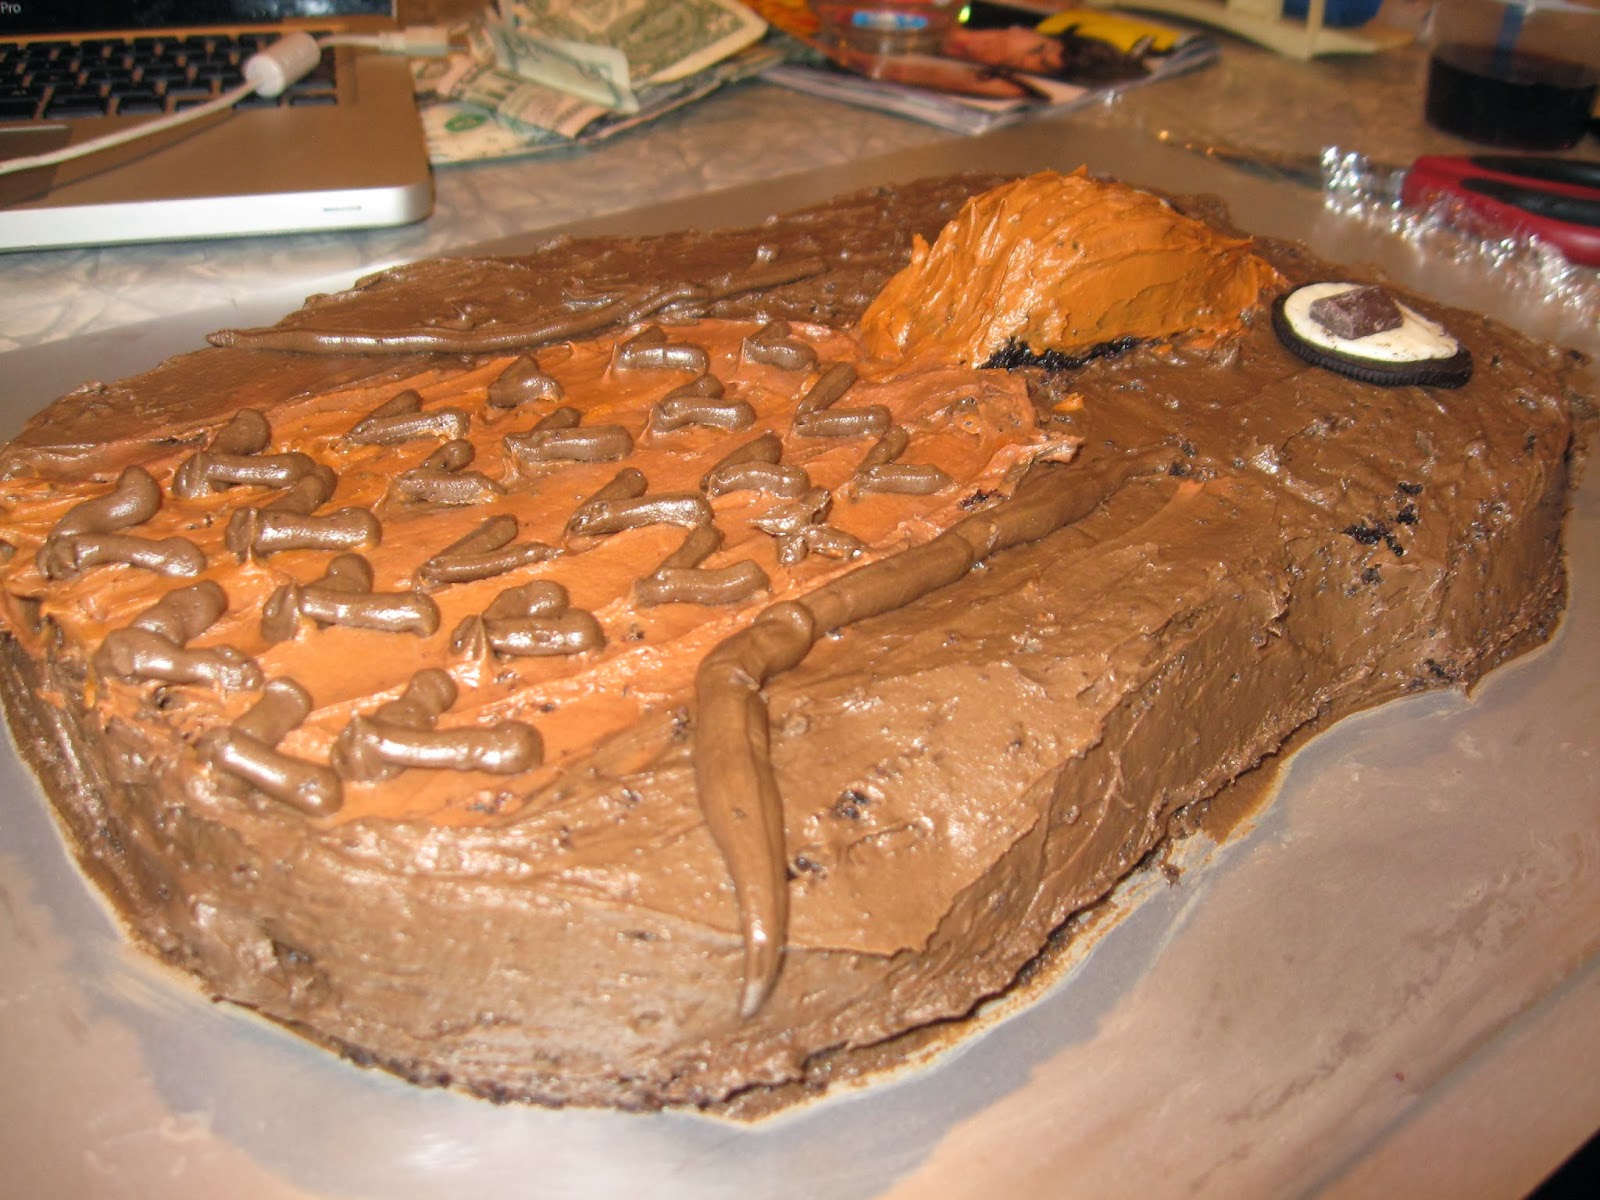
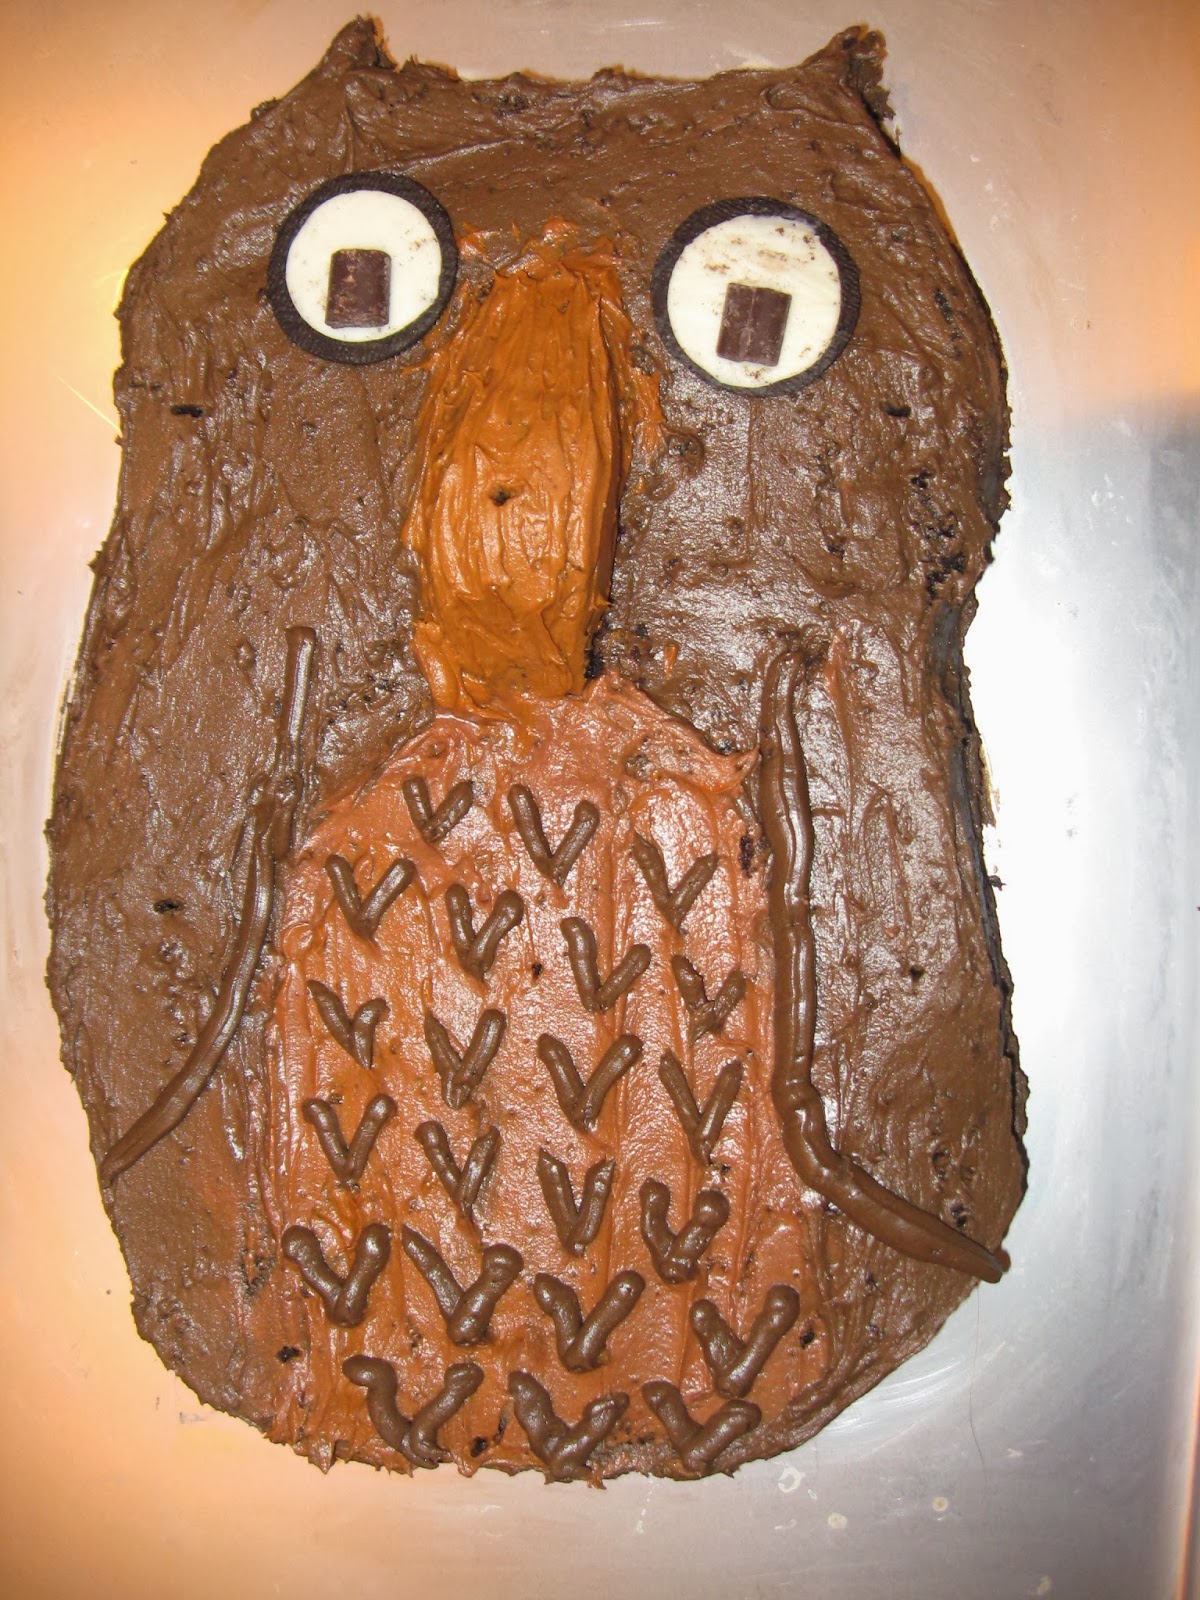
But anyway, I'm back, and my friend's birthday party is tomorrow. What better way to celebrate than with one of her favorite animals shaped in the best form possible?


So, with this time honored family recipe, the best buttercream ever, oreos and a little chocolate, 


I'm pretty sure i've made 


the absolute cutest


tastiest organism to ever hit my kitchen


not to mention this is the best cake i've ever made.
By that i mean that the frosting isn't paved with crumbs, or it doesn't look like a blob.

For this cake, i used my family's chocolate dump-it cake recipe, chocolate buttercream, and a little chocolate decor.

Chocolate Dump-It Cake
  • 2 cups sugar
  • 4 oz. unsweetened baking chocolate
  • 1 stick (1/2 cup) unsalted butter
  • 1 cup water
  • 2 cups flour
  • 2 teaspoons baking soda
  • 2 teaspoons baking powder
  • 1 salt
  • 1 cup milk
  • 1 teaspoon apple cider vinegar
  • 2 eggs
You will also need
  • one recipe buttercream 3/4 chocolate, 1/4 vanilla
  • 2 oreos
  • 2 nestle toll house chocolate chunks
  • yellow food coloring
                 Preheat your oven to 375 degrees. Grease a 9x13 inch pan. In a medium pot, stir the sugar, chocolate, butter and water over medium heat until melted/combined. When melted/combined, remove from heat and let cool slightly. Meanwhile, sift together flour, baking soda, baking powder and salt, set aside. In a small bowl, stir together vinegar and milk. When the chocolate mixture has cooled a little bit, stir in eggs and milk mixture. Then gradually add dry ingredients. Pour batter into pan. Bake for 30-35 minutes, until a toothpick comes out clean. remove cake from pan, and let cool. 
                  Prepare frosting. On a piece of parchment paper, trace your pan. inside the shape of the pan, draw your owl as large as possible. cut out the owl, and place it over cooled cake, using a serrated knife, cut along the shape of the owl, and save a rounded piece (i used a corner) for the beak. Frost an appropriate stomach area with vanilla frosting. Dye the remainder of vanilla yellow. Frost the entire rest of the cake with chocolate buttercream. Put the remainder of the chocolate frosting in a piping bag with a small round tip.  In the center of the owl's face, place the rounded piece. Frost it yellow. with the leftover chocolate frosting, pipe V's in rows on the stomach patch to look like feathers. Set aside the cake. Twist the 2 oreos, until the 2 sides come apart with all the creme on one side. press the sides, cookie-side down, into the cake on either side of the beak. press the chocolate chunks anywhere you want on the creme. Enjoy!

*I used chocolate and dark chocolate frosting because i forgot to leave some vanilla! Don't worry!*


Sunday, October 27, 2013

Black and White Cookies and Competitions!

So this year my temple is having a competition for Jewish Desserts. After kind of zoning out during the high holiday's service, this perked me right up. And having wanted to make these for quite some time, the choice seemed obvious. Not exactly a jewish dessert, but it officially classifies. Although, we need 100. Yeah. But just 100 halves, and Zabar's recipe makes like 4 dozen. So we're okay. Just need 2 gallons of icing. But who doesn't want that?


So many cookies!


iced and pretty!


Wish me luck!

Zabar's Black and White Cookies
  • 1 3/4 cups sugar
  • 2 sticks (1 cup) unsalted butter, softened
  • 4 large eggs
  • 1 cup milk
  • 1/2 teaspoon vanilla extract
  • 1/2 teaspoon lemon extract (not juice, extract, it's stronger)
  • 2 1/2 cups cake flour (I used soft-silk brand)
  • 2 1/2 cups all-purpose flour
  • 1 teaspoon baking powder
  • 1/2 teaspoon salt
King Arthur Flour's Black and White Icing

Vanilla
  • 3 1/3 cups powdered sugar
  • 3 tablespoons light corn syrup
  • 3 tablespoons hot water
  • 3/4 teaspoon vanilla extract
  • 1/4 teaspoon lemon extract
Chocolate
  • 2 2/3 cups powdered sugar
  • 3 tablespoons light corn syrup
  • 3/4 teaspoon vanilla extract
  • 1/4 cup hot water
  • 3/4 cup semisweet chocolate chips
Preheat oven to 375 degrees. Grease as many cookie sheets as you want (I used 2). With an electric mixer, cream together butter and sugar. Add eggs milk and extracts. In a separate bowl, stir together flours, baking powder and salt. Gradually add to wet ingredients on low speed. Use a cookie scoop, and scoop dough 2 inches apart, about 12 cookies per pan.  Bake for 12 minutes, then let cool completely. Scoop more dough, and repeat the baking process with the rest of the dough. To make the Vanilla icing: put all the ingredients into a bowl. and stir together. It will be very thick. Add more water  by the teaspoon to reach desired consistency. Make the Chocolate icing: Fill the bottom part of a double broiler half way with water, and bring to a boil. place top pot on, and dump in chocolate chips. stir until melted. Mix together all the ingredients, and again add water by the teaspoon if too thick. When cookies are completely cooled, spread vanilla icing on one half of the flat side of each cookie, and chocolate on the other half. If the chocolate icing gets too stiff, zap it in the microwave for a coupe of seconds. Let icings set before eating. Enjoy!


Friday, October 25, 2013

Halloween Cupcakes!

My sister has halloween concert tonight. Of course, i said i'd bake. So here I am, trying to finish an english project and make 24 (although only 22 survived) cupcakes.

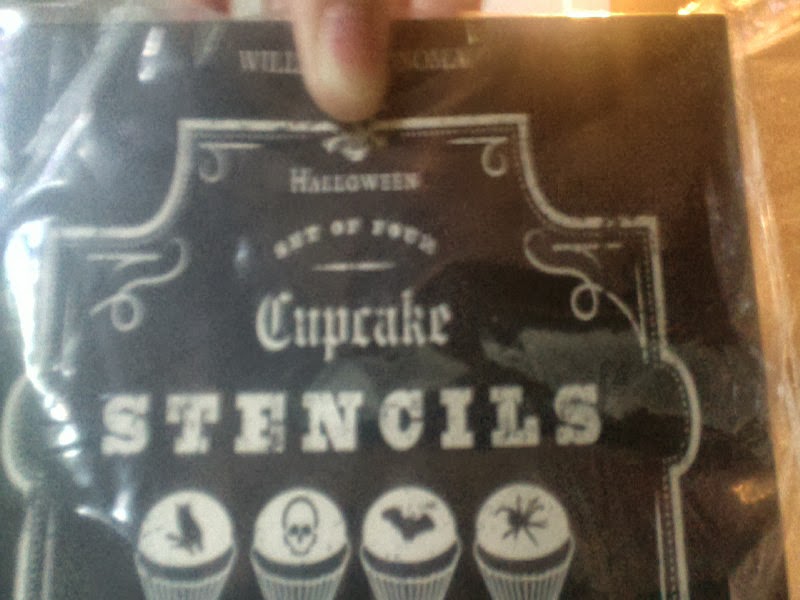
And I used my Halloween cupcake stencils!


Owls!


They aren't the prettiest, but they are really chocolaty and the fluffiest cupcakes i've ever made.

Super Fluffy Chocolate Cupcakes
  • 2 cups sugar
  • 1 3/4 cups flour
  • 3/4 cups unsweetened cocoa powder
  • 1 1/2 teaspoon baking powder
  • 1 1/2 teaspoon baking soda
  • 1 teaspoon salt
  • 2 eggs
  • 1 cup milk
  • 2 teaspoons vanilla extract
  • 1 cup boiling water
I used my fabulous buttercream recipe, tinted orange, which you can find here.

Preheat your oven to 350 degrees. Line 2 muffin tins. Stir together sugar, flour, cocoa powder, baking powder, baking soda, and salt in the bowl of an electric mixer. Beat in eggs, milk and vanilla. Stir in boiling water. Now this is halloween, so it will spook you. It is supposed to be like soup. The batter is thin. Fill liners 2/3 full, not over, and bake for 20-22 minutes. Let cool, and frost any way you want. Enjoy, and 

HappHalloween!


Friday, September 27, 2013

My New Kitchen!

It's done. It's finally done. And I'm jumping up and down. well, not right now. i'm sitting on my new granite countertop,  writing to all you lovely people on the internet. My sister is organizing the cabinets, and right now is putting away all my baking supplies (with my help, of course). So, in celebration, i'm willing to give a little tour.

But first, birthday stuff.
I got some pretty cool things.


i've been using an apple corer. but now i can be all fancy.


halloween cupcakes are in our near future, my friends.


and a macaron mat. excitingness.
so now i think it's time for your tour. let's get started.

here is a view of the whole thing.


fridge area


sink area


new TV. playing the food network of course.


and, THE OVEN!!!!


ahhh. 

well, i hope you enjoyed this little tour. see you soon!


Thursday, September 19, 2013

Chocolate chip cookie in a mug for 1-Microwave recipe!

I'm sick with a cold, my kitchen is under construction, and all i want to do is bake.
So, after geometry homework, and while enjoying the first episode of Brooklyn Nine-Nine, i found won of the most exciting things of my life. 
30. Whole. Microwavable. Dessert. Recipes. 
Yes.

I hear the angels singing in the background.
Hallelujah. 

Now it's just me, Andy Samberg, the microwave (that we're loaning since our old one broke), and half a bag of nestle tollhouse chocolate chips.


also, my birthday is on sunday, so expect microwave birthday cake in a mug to come!
Happy belated to me.


Om nom nom, cookie dough

and my only tools were a mug


a tablespoon


a plastic fork and knife


and, of course,


a microwave. 

Oooooh, that sounds like a survival show. exciting.


But not as exciting as this.


oh yeah.

Microwave Chocolate Chip Cookie for 1 in a Mug (wow that's long)

  • 1 tablespoon butter
  • 1 tablespoon sugar
  • 1 tablespoon brown sugar
  • 1/8 teaspoon vanilla extract
  • pinch of salt
  • 1 egg yolk
  • 3 tablespoons flour
  • about tablespoons chocolate chips give or take a tablespoon
Microwave the butter in the mug for 30-40 seconds. Stir in the sugars, vanilla and salt. add egg yolk. add flour, making sure to incorporate all of it. fold in chocolate chips. microwave 40-60 seconds, not over a minute. let cool, and enjoy!


Friday, September 13, 2013

sorry about the beginning of that last post. i meant crushed tomatoes instead of sauce, and soft slices of mozzarella cheese. have fun making pizza!